
Automating a Spectra Newport 400c Watermaker
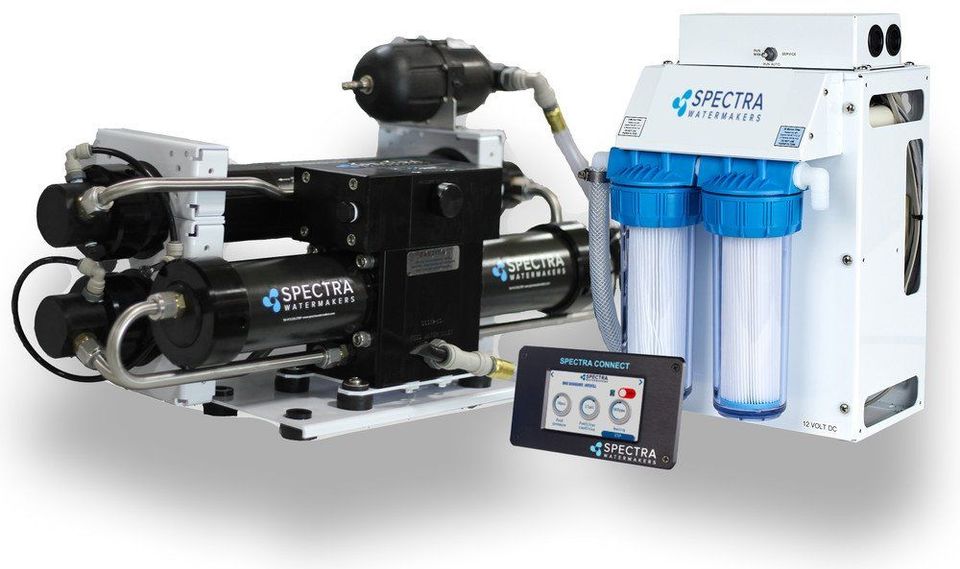
When we first got our Spectra watermaker installed I was pretty nervous about how well it was going to work based on the [very] mixed reviews out there. So far though, knock on wood, it has worked flawlessly.
The Spectra system comes with a touchscreen unit and a simple UI to control the functions of the device, so each time you want to make water you tap through a few screens to decide how long the device should run for. The unit also has a "network" port which supposedly makes the same UI available remotely.
During installation I had the network cable run to my router, but for a long time I couldn't get the device to show up on the network. The router didn't show any connection, and the Spectra UI showed an IP address of "NIL" in its settings. Having verified that the cable wasn't faulty, by connecting a laptop to it, I figured there must be some hidden configuration required to enable the networking feature - so I emailed Spectra to ask.
It turns out, no, there isn't - but the very first suggestion that they had for me was to bypass the internal ethernet patch cable and connect directly to the ethernet port on the internal board. An oddly specific suggestion right out of the gate, and a friend of mine with the same watermaker has the same NIL IP address, so I assume they had a bad batch of network ports that they're already aware of.
I removed 4 screws to pop off the head of the unit and re-routed the ethernet cable straight to the board, as directed, and everything started working right away. Go figure.


To tidy things up, I re-ran the ethernet cable around the other side of the head unit, and through an existing rubber grommet so it would have a clean path to the internal port. I was pleased this only took 5 minutes and solved the connection issue without much drama.


Now the Spectra got an IP address, as expected, and was accessible by visiting that IP in a web browser - similar to how you access Victron's VenusOS.
Spectra don't document any supported networking functions beyond this. They expect you to connect the device to a network, and then click buttons in your browser instead of on the screen, and that's it. So from here on out it's the wild west.

The Spectra UI is an HTML5 app, and it turns out to be a pretty basic one. You can easily simulate button clicks using JavaScript, and the app itself already loads jQuery so it barely takes any effort at all. To start with, I just dug through the source and figured out which elements to trigger in order to follow my usual path through the menus to turn on the watermaker for 3 hours.
// wake up
$("#button0").click();

// start
$("#button1").click();

// autorun
$("#button0").click();

// select hours
$("#button2").click();

// select amount
$("#label0").trigger("focus");

// enter amount
$("#input_page_input").val("3");

// submit amount
$("#button0").click();

// ok - go
$("#button3").click();
Not the most semantic or useful IDs here, but it works - and ostensibly you could build a script using something like PhantomJS to simulate a browser and click these buttons for you automatically.
Next, I dug into the source code of the Spectra client app in a little more detail. Aside from jQuery and some basic styles, it's just a single index.html with the entire source inline. After a little poking around, I figured out that the jQuery used in the app is really just translating button clicks into Websocket messages.
The JavaScript clickhandler on #button0 of Page 12 of the UI literally just compiles a JSON string and sends it as:
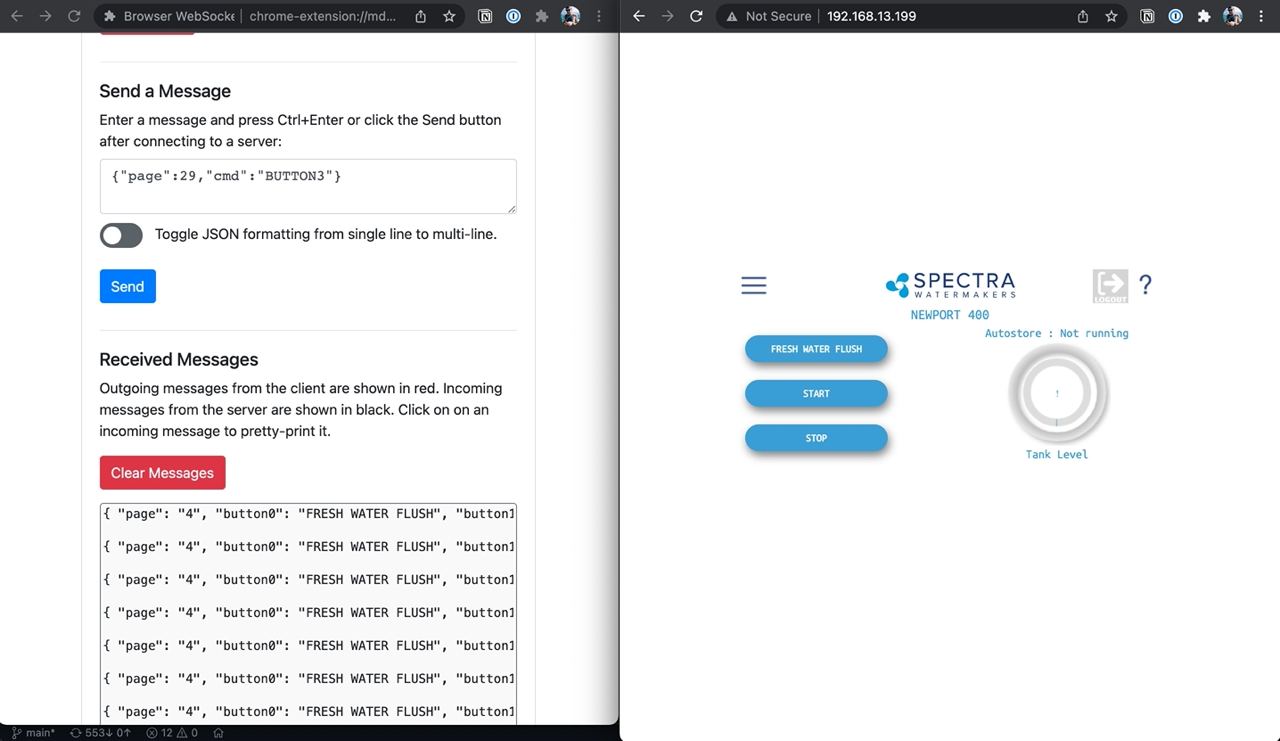
{"page":12,"cmd":"BUTTON0"}There's no authentication or anything fancy, so we can bypass the client completely and just talk to the Spectra unit directly by sending those same commands. The websocket connection details are at the top of the app source code, and I used a Chrome Browser Websocket Client to open a new connection and test sending and receiving messages back and forth.

This gave me an instant stream of messages being sent from the Spectra, which are the same ones that get console.log'd in the JS client. Nice.
Using Websockets I was then able to do the same thing as before, sending the same messages to the server as the JS client does. The browser extension effectively just acts as a 2nd client, so by putting browser windows side-by-side, I could send messages and see the client app react to them in sync.
The equivalent messages required to follow the same "usual flow" to run the watermaker for 3 hours, as before:
// start
{"page":4,"cmd":"BUTTON1"}

// autorun
{"page":37,"cmd":"BUTTON0"}

// select hours
{"page":29,"cmd":"BUTTON2"}

// select amount
{"page":29,"cmd":"LABEL0"}

// enter amount
{"page":12,"data":"3"}

// ok - go
{"page":29,"cmd":"BUTTON3"}
Being able to interface with the server directly should make it much simpler to write automations in pretty much any language.
My goal here is to build a full Home Assistant integration to connect the watermaker to all my other devices, activate it remotely from my phone, and perform actions based on the conditions of my other sensors. Eg.
- If water tanks are below 50%
- And battery is above 50%
- And shore power is disconnected (eg. we're not in a marina)
- And someone is home
- Have Alexa ask "Would you like to run the watermaker?"
- If positive response:
Make water for appropriate number of hours based on tank levels
Then I should be able to log data from every run to see average yield over time
It would certainly be possible to bypass the confirmation step completely and just start running as soon as the tanks are low - but watermakers can be sensitive to lots of different factors so a small human sense-check before starting still feels like a good idea.
That's as far as I've gotten for now. The next steps will be working on learning how to send websockets from Home Assistant, and then turning that into a full integration - ideally with its own Lovelace UI.
Member discussion